Create a new environment with a different kernel
Use a specific python version when creating a new environment in Conda Switcher.
The default environment includes a set of kernels that are automatically built from the EGI-Federation/egi-notebooks-images GitHub repository.
These are the available kernels:
Python: Default Python 3 kernel, it includes commonly used data analysis and machine learning libraries. Created from the jupyter/scipy-notebook stack.
Julia: The Julia programming language with the libraries described in jupyter/datascience-notebook.
R: The R programming language with several packages from the R ecosystem as provided by jupyter/r-notebook and some extra libraries.
RStudio: RStudio Server offers a RStudio IDE from the Notebooks interface.
Octave: The Octave programming language installed
on its own conda environment (named octave).
Notebooks mounts several CVMFS
repositories where you can find software relevant to your community. These are
accessible from the default CVMFS location /cvmfs and also linked in your home
directory /home/jovyan/cvmfs. These repositories are available:
If you need access to any other repositories, please open a request in GGUS.
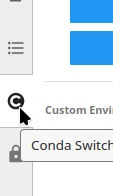
Conda Switcher is a JupyterLab extension for managing Conda environments directly from the Notebooks interface. It is available from the left control panel of the JupyterLab environment and provides a graphical interface for common environment management operations:
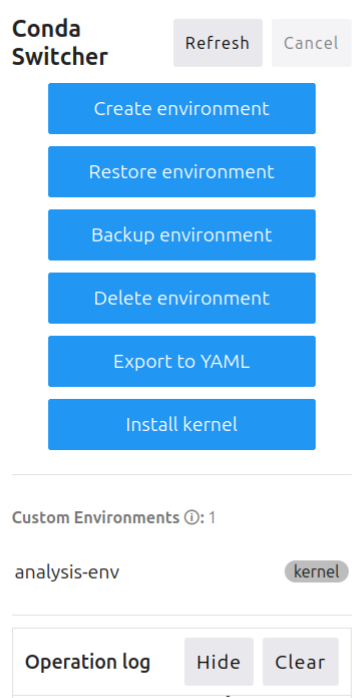
Conda Switcher allows you to create new Conda environments, restore environments from backups, create environment backups, export environments to YAML, install Jupyter kernels, and remove environments. The panel also displays the currently detected environments and provides a live operation log for monitoring longer-running tasks.
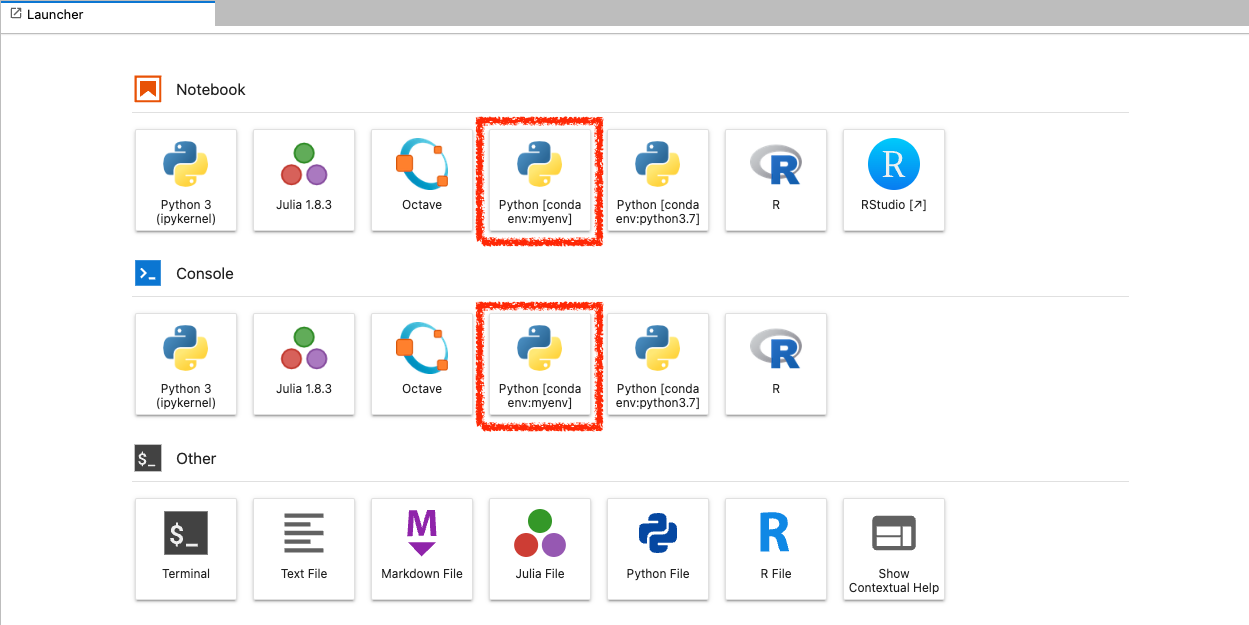
And how do you switch between environments ? Once you have created and you are managing multiple environments/kernels using Conda Switcher extension, you will be able to use/switch between options available in those environments by either selecting them from Jupyterlab launcher, kernel selection or CLI.
Click Create environment in the Conda Switcher panel. Enter a name for the new environment, select the Python version you want to use, and choose which Jupyter kernels should be installed together with the environment. Python is selected by default. You can also select R, Julia and Octave, and multiple kernels can be installed at the same time.
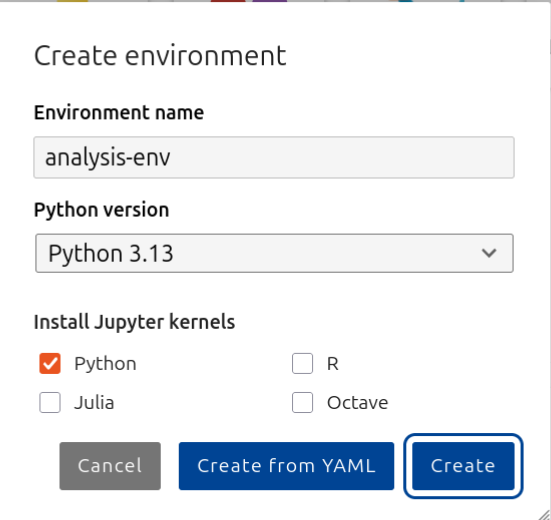
Confirm the dialog to start creating the environment. Conda Switcher first creates the environment and then installs and registers the selected kernels as part of the same background operation. The complete progress can be monitored in the operation log at the bottom of the Conda Switcher panel. Once the operation is completed, the new environment will appear in the list of available environments and the selected kernels will be available for use in JupyterLab.
Installing multiple kernels requires more resources, like memory. If you don’t have enough spare resources, the creation of a new environment will most likely fail.
To prevent this, there are couple of approaches you can apply, so you can create a new environment with desired kernels in it:
The Custom Environments section lists the Conda environments currently detected by Conda Switcher.
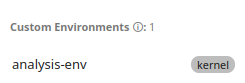
A kernel label may be displayed next to an environment name. This label indicates that the environment has at least one Jupyter kernel registered for it. For example, if an environment contains multiple registered kernels, only a single kernel label is displayed. An environment without the kernel label is still a valid Conda environment, but it is not currently registered as a Jupyter kernel.
You can also customise the python version when creating your new environment.
Default and any other conda environment not created using Conda-Switcher are not considered by the extension. If you wish to manage those, you have to do it manually. There is also an UI hint regarding this.

Click Backup environment and select the environment you want to back up.
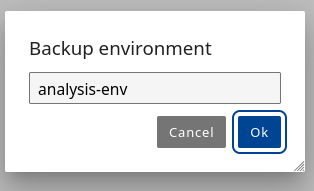
Conda Switcher uses conda-pack to create a portable archive containing the
selected environment. Before the backup starts, a file browser opens where you
can select the directory in which the backup archive should be stored. The file
browser starts in your Jupyter home directory. You can later restore the
environment from this archive using
Restore environment.
Backup is performed as a background operation and its progress can be monitored in the operation log. Large environments may require several minutes to package.
Click Restore environment to restore a previously backed-up environment. A file browser will open in your Jupyter home directory. Browse to the location where the backup archive is stored and select the archive you want to restore.
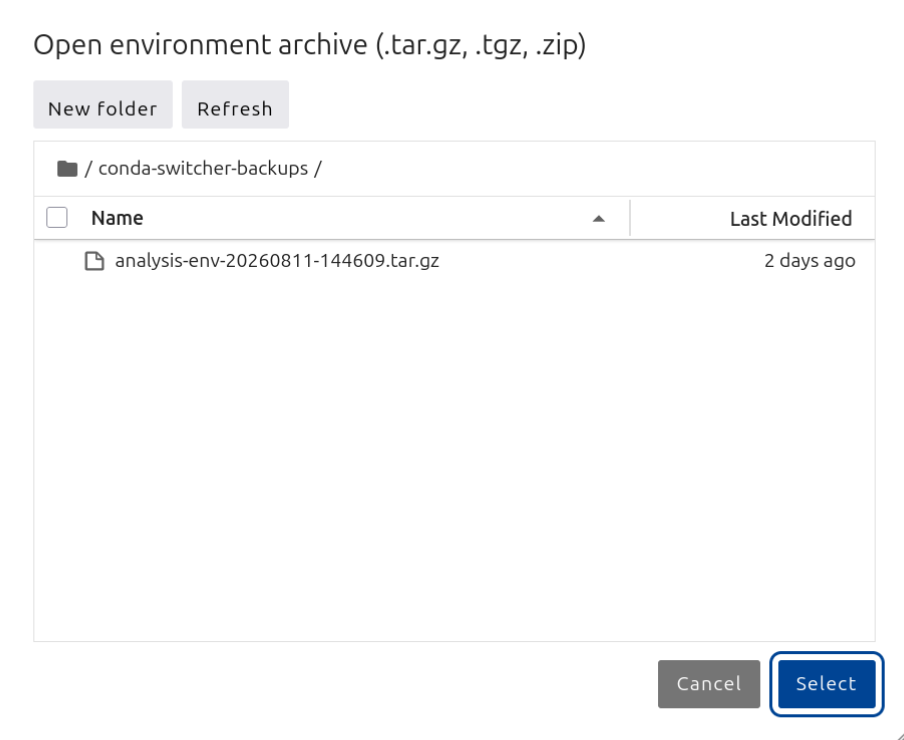
Select the environment archive you want to restore and confirm your selection. You will then be asked for the name of the restored environment. Conda Switcher extracts the selected archive and recreates the environment in the managed environment area.
The restoration process runs in the background and can be followed in the operation log. Once completed, the restored environment will appear in the list of available environments.
Click Export to YAML and select the environment you want to export. A save dialog will open where you can browse the JupyterLab filesystem, select the destination directory and enter the desired file name in the same window.
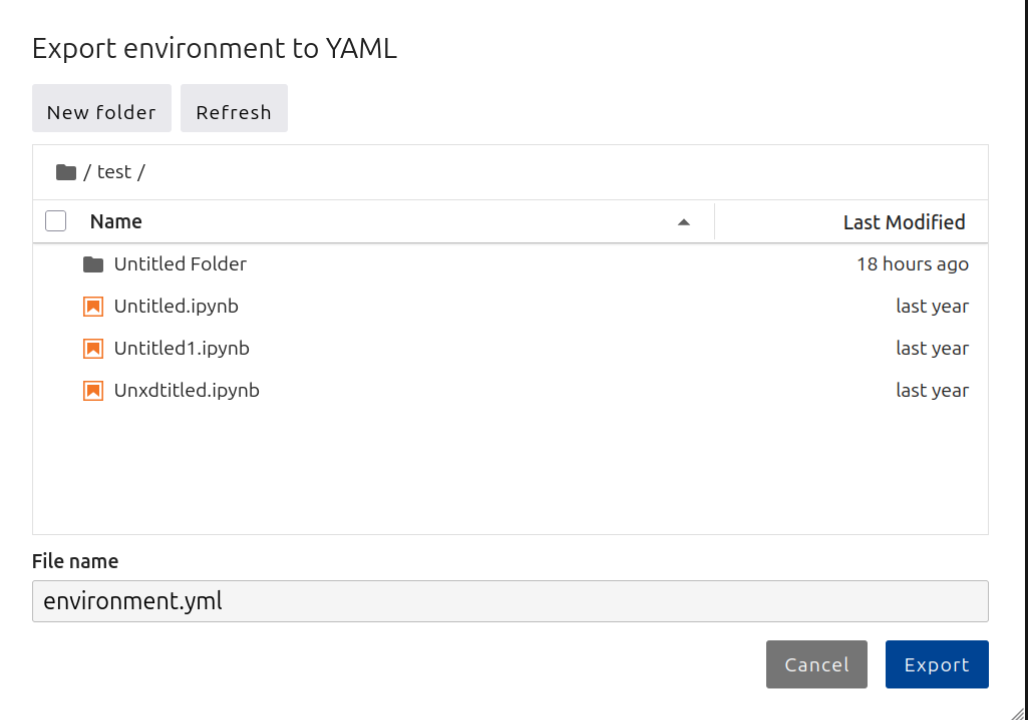
Enter the desired YAML file name and select the destination directory. The .yml extension is added automatically if it is not specified. After selecting the destination directory and file name, Conda Switcher asks you to choose an export method.
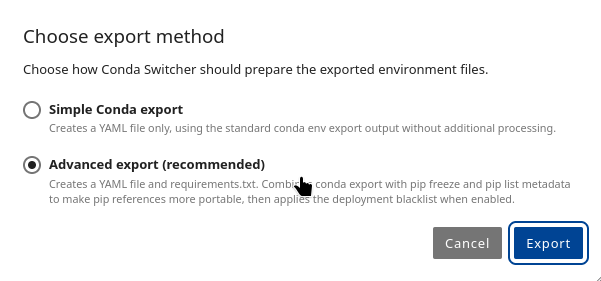
Simple Conda export uses the standard Conda export command and stores its output directly in the selected YAML file. This mode does not apply additional processing, package filtering or pip metadata handling. It is intended as a compatibility option when you want the original Conda export behaviour.
Advanced export is selected by default and is recommended for most users. It
combines the standard Conda export with information from pip freeze and
pip list --format=json to improve portability of pip-installed packages. Git-based
package references are preserved as repository URLs, while local file:///
references are converted to package==version requirements when the installed
package version can be identified.
Advanced export generates 2 files: environment.yaml and requirements.txt
The exported YAML file describes the packages and configuration of the selected
Conda environment. In Advanced export mode, Conda Switcher always creates a
requirements.txt file containing information about pip-installed packages, in
addition to the YAML environment file. The resulting files can be used to
inspect the environment configuration or to reproduce a similar environment on
another system.
Backup environment and Export to YAML preserve an environment in different ways. A backup created by Backup environment is a packaged copy of the actual Conda environment and is intended to be restored using Restore environment. It is the appropriate option when you want to preserve an environment and return to it later.
A YAML export is a textual description of the environment and its packages. It is easier to inspect, edit and share, but it does not contain the packages themselves. Recreating an environment from YAML therefore generally requires the packages to be downloaded and installed again.
Use Backup environment when your goal is to preserve and later restore an environment. Use Export to YAML when you need a portable and human-readable environment specification.
Click Install kernel and select the environment in which you want to install the kernel. Conda Switcher provides support for Python, Julia, R and Octave kernels.
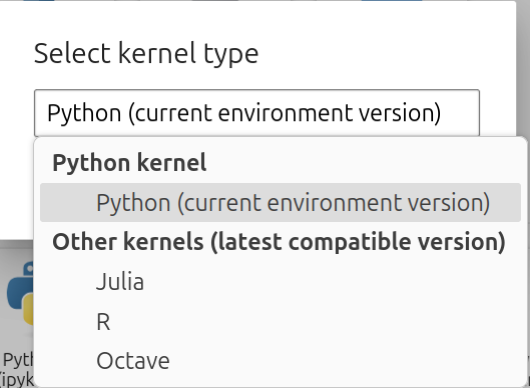
For Python, the kernel uses the Python installation of the selected environment. For Julia, R and Octave, Conda Switcher installs the packages required to provide the selected Jupyter kernel and registers it for use by JupyterLab.
Kernels can also be selected when creating a new environment. Use Install kernel when you want to add another kernel to an environment that already exists. Kernel installation runs as a background operation. Installing a kernel that requires additional packages can take several minutes because the necessary packages may have to be resolved and downloaded.
After installation, the kernel becomes available for use with Jupyter notebooks. If a newly installed kernel is not immediately visible in the Launcher or kernel selection menu, refresh the JupyterLab interface.
Click Delete environment and select the environment you want to remove.
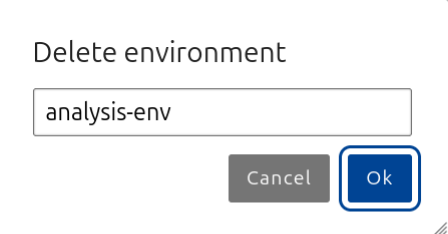
Before deleting an environment, Conda Switcher asks whether you want to create a backup of the environment first.
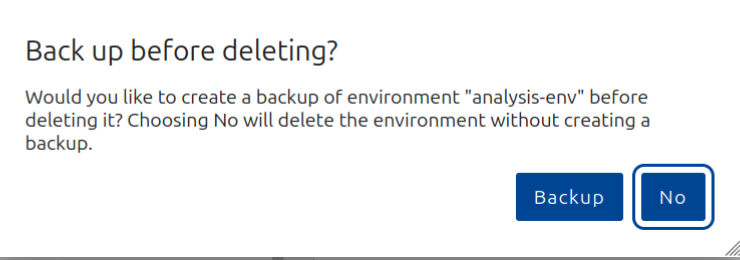
You can choose Backup to create a backup before deleting the environment, or No to delete the environment without creating a backup. If Backup is selected, a file browser opens where you can choose the destination directory. Conda Switcher waits for the backup to complete successfully before removing the environment.
Some environment operations can take a significant amount of time. Conda Switcher therefore performs long-running tasks in the background and displays their progress in the lower part of the panel.
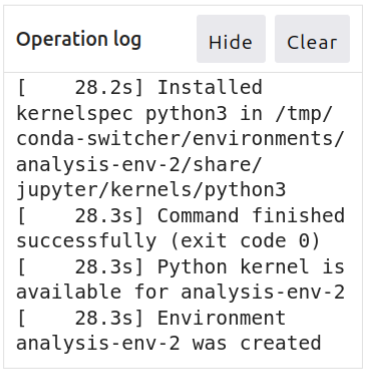
While an operation is running, Conda Switcher displays its current status, elapsed running time and output produced by the underlying command. The detailed output is contained in a scrollable log area, so a long log does not expand the panel or move the environment controls out of view.
The Hide button hides the detailed log and changes to Show, which can then be used to display it again. Hiding the log only changes its visibility; logging continues in the background and the running operation is not interrupted. The Clear button clears the currently displayed log output.
Backup archives are stored in the directory selected by the user when the backup is created. Conda Switcher does not create or require a dedicated backup directory.
Backup archives can later be restored using Restore environment. The file browser starts in your Jupyter home directory, from where you can navigate to the location containing the archive.
If you want to have a completely customised environment for your Notebooks that persists across sessions, you can create your own conda environment in your home directory. Thanks to the nb_conda_kernels plugin these will show up automatically as an option to start notebooks with by following these steps:
Create a $HOME/.condarc file specifying where your environments will be
created, e.g. in /home/jovyan/conda-envs/:
env_dirs:
  - /home/jovyan/conda-envs/
Create your environments as needed, make sure to install a kernel
(ipykernel) for it to show automatically:
$ conda create -p /home/jovyan/conda-envs/myenv ipykernel scipy
The environment will show up in the launcher as a new option
Use a specific python version when creating a new environment in Conda Switcher.
In this tutorial we will show you how to recreate your environment in EGI Replay.