Data transfer with grid storage
Overview
This tutorial describes the EGI Data Transfer using FTS transfers services and WebFTS. In the following paragraphs you will learn how to use the FTS command-line client to perform data transfers between two Grid storage.
Prerequisites
As first step please make sure that you have installed the FTS client as described in Data Transfer, and in particular Clients for the command-line FTS and to have your certificate installed in your browser to use WebFTS browser based client.
To access services and resources in the EGI Federated Cloud, you will need:
- An EGI Check-in account, you can sign up here
- Enrolment into a Virtual Organisation (VO) that has access to the services and resources you need
FTS client usage
Step 1 Configuration check
To verify that everything is configured properly you can check with the following command and pointing to the certificates directly:
$ fts-rest-whoami --key ~/.globus/userkey.pem --cert ~/.globus/usercert.pem \
   -s https://fts3-public.cern.ch:8446/
User DN: /DC=org/DC=terena/DC=tcs/C=NL/O=Stichting EGI/CN=Jane Doe jd@egi.eu
VO: JaneDoejd@egi.eu@tcs.terena.org
VO id: XXXXXXXX-XXXX-XXXX-XXXX-XXXXXXXXXXXX
Delegation id: XXXXXXXXXXXXXXXX
Base id: XXXXXXXX-XXXX-XXXX-XXXX-XXXXXXXXXXXX
In general the commands can be used by specifying the user public and private key like shown in the example or by creating a proxy certificate as described in the following section.
Step 2 Proxy creation
As you have seen in the previous section it is possible to use the FTS commands
by specifying the location of the user public and private key. With the use of
voms-proxy-init it is possible to create a proxy certificate for the user.
With this you don’t need to specify the location of the public and private key
for each FTS command. When running voms-proxy-init it’s possible to specify
the location of the public and private key. If this are not included as options,
the tool expect to find them in:
~/.globus/usercert.pemfor the public key~/.globus/userkey.pemfor the private key with read access only for the owner
Following is an example of running this command with the public and private key already setup as described:
$ voms-proxy-init
Your identity: /DC=org/DC=terena/DC=tcs/C=NL/O=Stichting EGI/CN=Jane Doe jd@egi.eu
Creating proxy ........................................... Done

Your proxy is valid until Wed Aug 25 04:18:14 2021
The output of the command shows, a proxy certificate valid for 12 hours has been generated This is the default behaviour and can be usually increased, for example to 48 hours, with the following option:
$ voms-proxy-init -valid 48:00
Your identity: /DC=org/DC=terena/DC=tcs/C=NL/O=Stichting EGI/CN=Jane Doe jd@egi.eu
Creating proxy ................................... Done

Your proxy is valid until Thu Aug 26 16:23:01 2021
To verify for how long the proxy is still valid you can use the following command: command:
$ voms-proxy-info
subject   : /DC=org/DC=terena/DC=tcs/C=NL/O=Stichting EGI/CN=Jane Doe jd@egi.eu/CN=1451339003
issuer    : /DC=org/DC=terena/DC=tcs/C=NL/O=Stichting EGI/CN=Jane Doe jd@egi.eu
identity  : /DC=org/DC=terena/DC=tcs/C=NL/O=Stichting EGI/CN=Jane Doe jd@egi.eu
type      : RFC compliant proxy
strength  : 1024 bits
path      : /tmp/x509up_u1000
timeleft  : 19:59:57
When the timeleft reaches zero the same command will produce the following
message:
$ fts-rest-whoami -s https://fts3-public.cern.ch:8446/
Error: Proxy expired!
The last option that you need to use is specify the VO that you want to use for the proxy being created. In the following example the dteam VO has been used:
$ voms-proxy-init --voms dteam
Your identity: /DC=org/DC=terena/DC=tcs/C=NL/O=Stichting EGI/CN=Jane Doe jd@egi.eu
Creating temporary proxy ................................................................... Done
Contacting  voms2.hellasgrid.gr:15004 [/C=GR/O=HellasGrid/OU=hellasgrid.gr/CN=voms2.hellasgrid.gr] "dteam" Done
Creating proxy .............................................................................. Done

Your proxy is valid until Wed Sep  8 04:37:07 2021
With a proxy now available for the user it is now possible to execute the FTS commands without specifying the public and private keys as it will be shown in the following sections.
Step 3 Find the storage
In general, the source and destination storage for a specific project should be already known. However, to discover the available source or destination endpoints to be used for a transfer, you can use the VAPOR service.
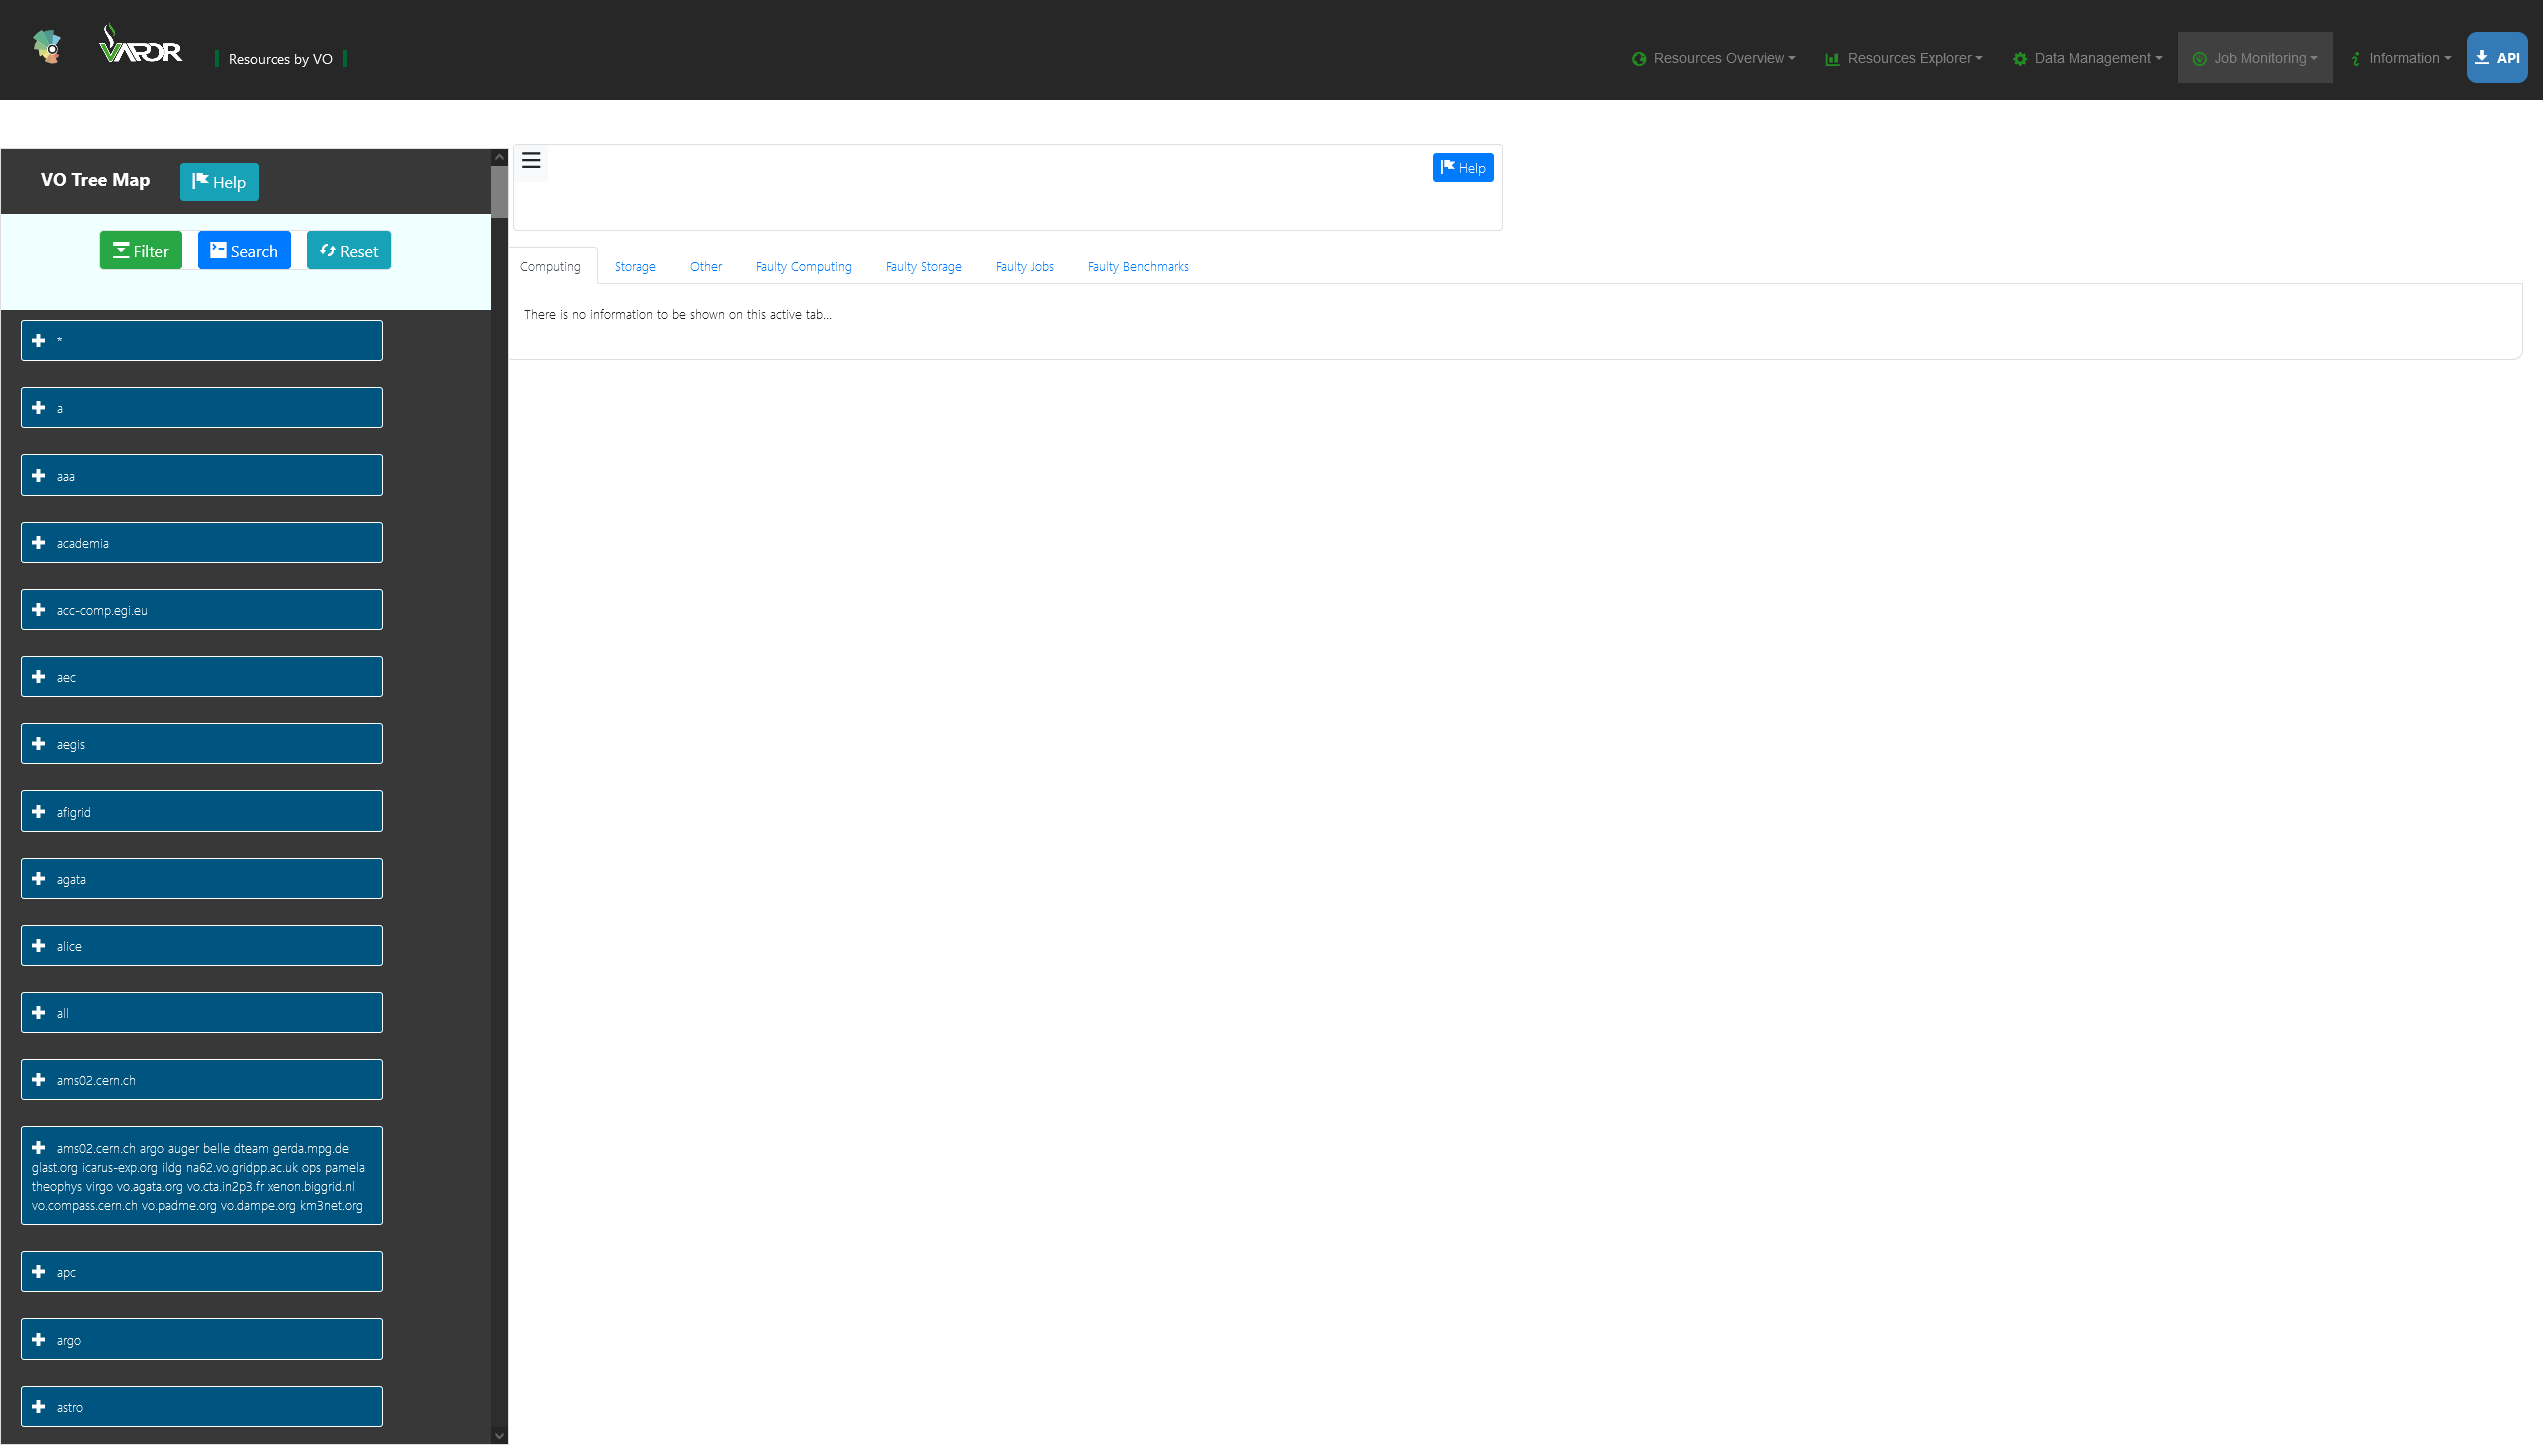
Once the page is loaded on the left column it is possible to filter by VO or scroll the list and click the desired VO as show in the following picture:
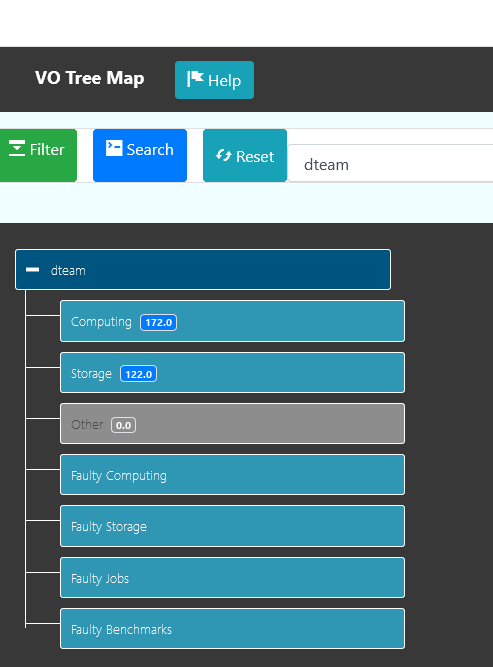
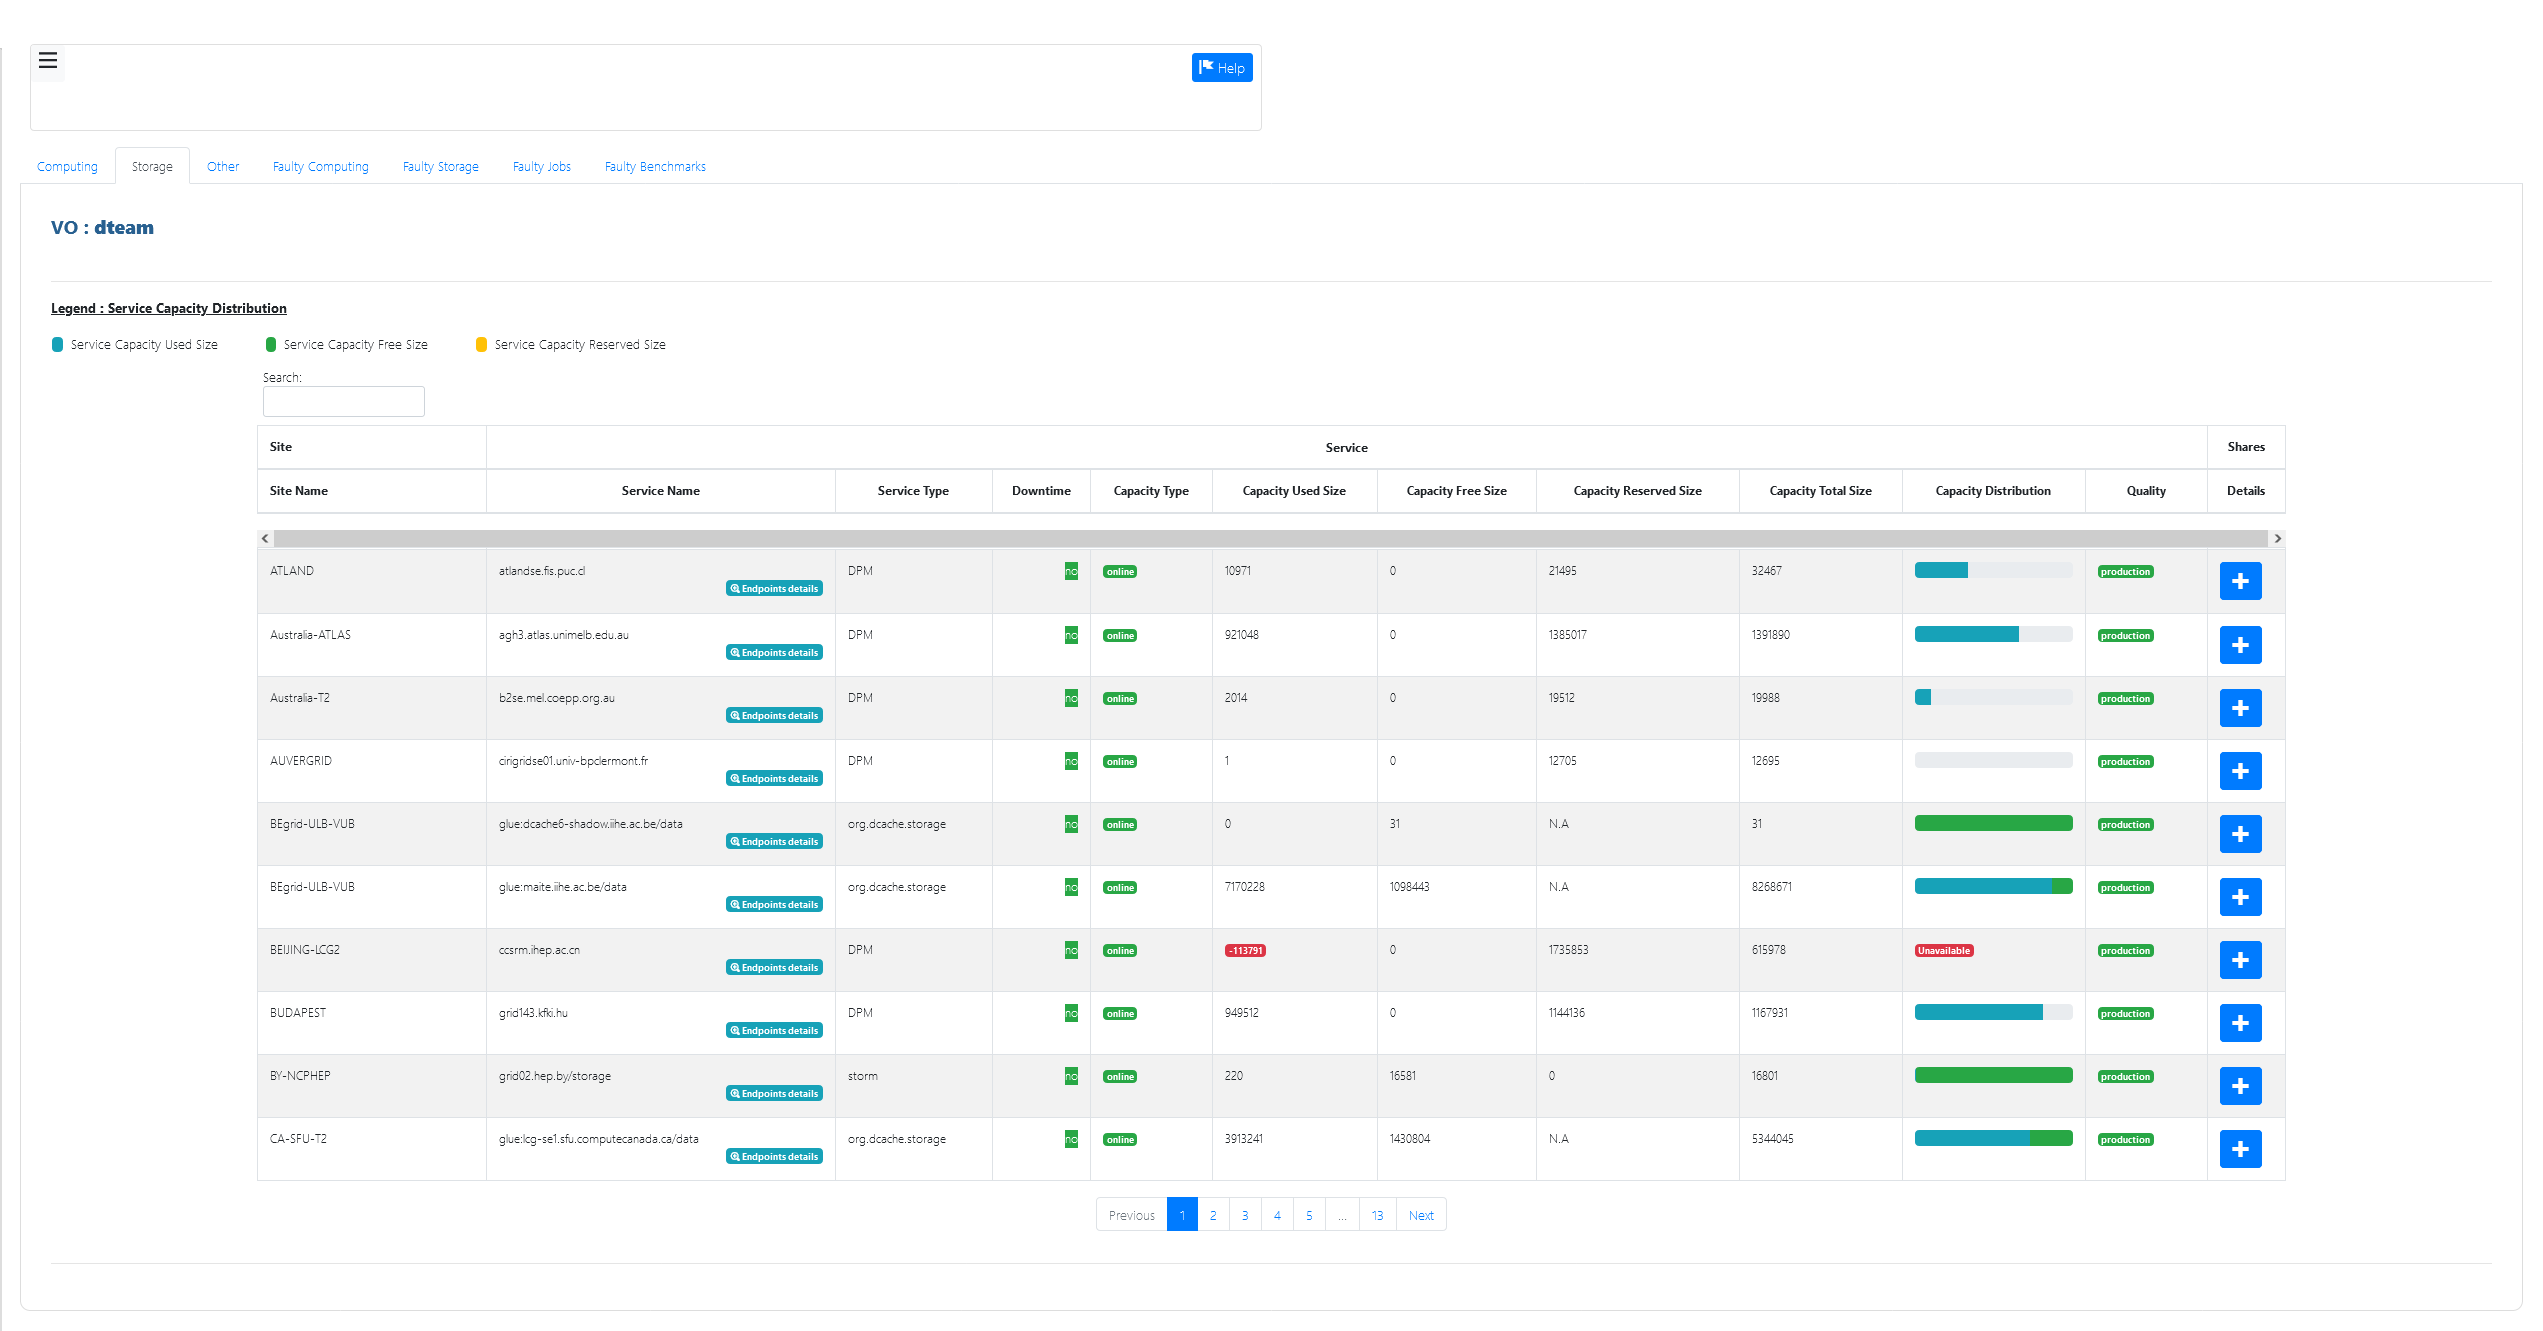
Once selected, you can see all the resources associated with the specific VO. In particular in this case you are interested in the information on the status, capacity, type of storage, etc. Following is a screenshot of the visualisation of the list of storage available to dteam.
Step 4 Starting a transfer
Once you have identified the source and destination storage needed for the transfer you can proceed with the transfer between the two endpoints. To do that you can use a command of this type, returning the job ID corresponding to the transfer that you started:
$ fts-transfer-submit -s https://fts3-public.cern.ch:8446/ \
  --source https://dc2-grid-64.brunel.ac.uk/dpm/brunel.ac.uk/home/dteam/1M \
  --destination https://golias100.farm.particle.cz/dpm/farm.particle.cz/home/dteam/1M \
  -o cfc884f8-1181-11ec-b9c7-fa163e5dcbe0
To check the status of the transfer you can use the returned job ID and use the following command specifying the server controlling the transfer, the source and the transfer itself:
$ fts-transfer-status -s https://fts3-public.cern.ch:8446/ \
  cfc884f8-1181-11ec-b9c7-fa163e5dcbe0
FINISHED
The last option -o specify that the file should be overwritten if present on
the destination. If this option is not present and a file with the same name
exists on the destination, the transfer itself will fail. If you use this option
you should make sure that it is safe to do so.